
‘Little Leaf II’ (left) & ‘Little Leaf I’ (right), printed on Fotospeed Matt Ultra 240
Printing has become one of my favourite parts of photography. For me it feels like it completes the process of creating a photograph; shoot, process then print. Seeing and feeling your photo in a physical form gives you a tactile experience back to the moment you pressed the shutter.
It still feels like early days with my inkjet printer but I’ve been enjoying the learning process. Here it is so far.
Background
Although I bought my first inkjet printer (an Epson R240) back in 2007, I don’t feel like my experience with printing my own photos really started until about 2012 when I decided to explore the magic of darkroom printing. Seeing my photos come to life in a tray of developer chemical was a special experience that I have fond memories of. I stopped doing it for various reasons, but needless to say it was a great learning experience.
Wiping water off a silver gelatin print from my darkroom printing days.
Over the years since then I’ve exhibited my photos and given some as gifts. For this I needed to source good printing companies for different needs, and because of this I’ve built up knowledge about different materials, papers and finishes.

‘The Library Van’ at Warrington Contemporary Arts Festival 2015

My first solo exhibition at Warrington Bank Quay Gallery.

My work on show at 92 Degrees Coffee.
Then at the end of last year I bought my current printer. At Digital Splash ’16 I saw the quality produced by current inkjet printers had come a long way since my first. I was seriously impressed and knew straight away that I wanted one, I just had to wait patiently until the end of last year when I had space.
My choice of printer

My Epson SureColour P800 printer.
After some “umm”-ing , “ahhh”-ing and some serious chin-stroking, the printer I ended up getting was an Epson SureColour P800. When I was looking at features that gave me the most options at a price I was willing to pay, this was the one.
A few things made up my mind, the first thing being that the SureColour series of printers have a roll feed attachment. This gives you the option to print panoramic photos or to print A2 photos in a cost-effective way. It’s certainly something to think about when looking around at different brands.
Initially I looked at the P600 model but the main long-term drawback for me was that it prints up to a maximum size of A3+, whereas the P800 can go up to A2. It’s a big difference in size, and although the P800 is roughly twice the cost of the P600, in my mind it was worth spending extra to have the option to print larger.
Finally, the last thing that clinched it for me was the many great reviews they have received.
Additional equipment

Some of the paper I have – just a small selection of what’s available to buy.
For printing I have been using a range of papers by Fotospeed and PermaJet. Both companies produce a wide range of great papers (photo and fine art) as well as canvas and I’ve been very pleased with the results.
I process my photos in Adobe Lightroom and use the ‘Print’ module to send my photos to my printer from my PC. It took me a bit of time to get my head around the layout, but once I did I found it surprisingly efficient and flexible for my needs.
A handy bit of kit that I didn’t expect to buy is a Rotatrim cutter. I don’t use it often, but when I do it’s so much quicker, neater and efficient than using a knife and ruler to trim my prints.
I also have a 27” Dell IPS monitor, ideal for processing photos, which I calibrated recently with an X-rite i1 tool. The monitor has done me proud for over five years.
What I enjoy about printing my own work

‘Sprawling Fractals I’, printed on Fotospeed Matt Ultra 240
All this technical talk is important for getting good results, but what really matters is enjoying the experience of seeing your work in print. It’s a tactile experience that gives you a different appreciation for your photography. For me the difference is that when I look at my photos on a screen I feel happy with a photo I have taken, but with a print I feel happy with a photo I have created.
I also think that seeing my work in print makes my photography better. I’m not sure why but seeing it in this form gives me some distance from it; I can be a bit less attached and see the photo more for what it is. When I see a photo printed out I sometimes see a way to improve it that never occurred to me when I looked at it on a screen.
One of the great things about having my own printer is the immediacy in being able to create a print whenever I feel like. Every so often I like to make an A4 print or a few just to see how certain photos look when printed. I never did this when I had to order prints because the wait and cost for one or two prints at a time didn’t make sense.
This immediacy also gave me the idea to do print giveaways for my blogs and I’ve given the odd one as a gift or ‘thank-you’ to friends, family and people who have helped me out. It’s so easy to get used to seeing your own photos and take them for granted, but when someone tells me that receiving one of my prints has made their day it’s a great feeling.

‘Vine’, printed on PermaJet FB Gold Silk 315
What I have learnt – so far!
One of the first things I realised is that there’s a lot of choice of paper, and to someone completely new to printing photos it might come as a bit of a surprise. There’s three basic types of paper finish; glossy, lustre and matt. I use paper with lustre or matt finishes as I like the look and feel of these when compared to the reflective surface you get with gloss paper, but it’s certainly down to personal preference.
My favourite type of paper is probably a baryta paper like Fotospeed’s Platinum Baryta 300, which looks like a lustre finish but is described as having an unglazed gloss surface. It’s a fibre-based fine art paper with a satisfying weighty feel, subtle textured finish and depth of colour.
For something a little different I enjoyed seeing the results of a few photos on PermaJet’s Titanium Lustre 280 paper, as the subtle metallic lustre finish really gave the colours a unique sheen to suit the subject’s metallic nature.
In addition to the more expensive papers, I’ve found it handy to have a box of A4 lustre photo paper (like Fotospeed’s PF Lustre 275) for when I just want to see how a photo looks on good photo paper. I can then save my best paper for another time.

‘Sniff-Sniff’, printed on Fotospeed PF Lustre 275.
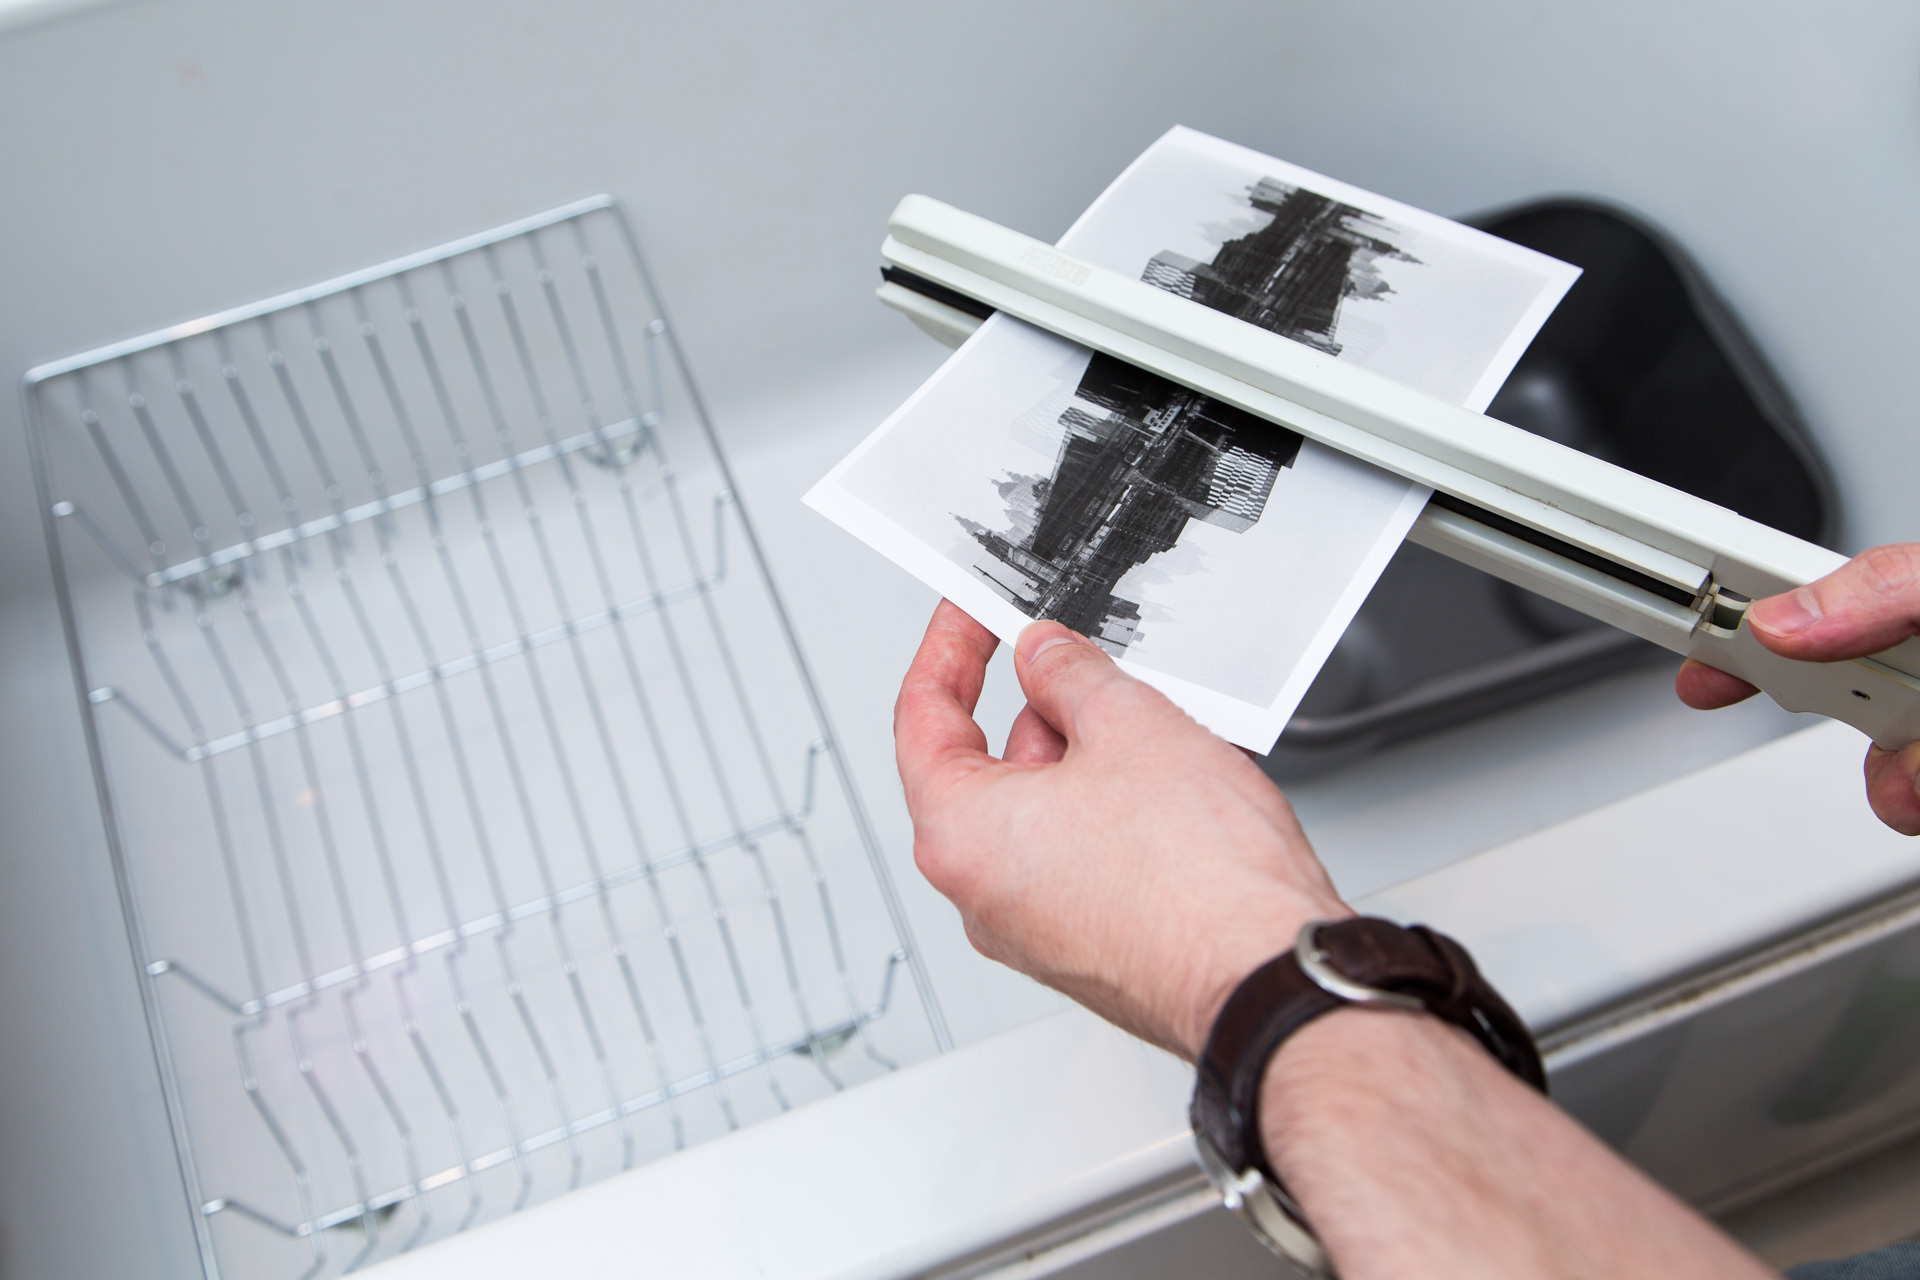
When I started printing I decided to buy test packs by Fotospeed and PermaJet. With these packs you get a handy cross section of different types of paper which is a smart way to try them out compared to buying whole boxes of single types of paper. You might even want to try printing the same photo across different papers to compare how the paper type changes the look of photos, for example some paper might be more textured than others or have a warmer tint to it. I use two photos from a trip to Oslo – one colour that has a range of bold colours and one black & white that features smooth gradients in tone, crisp lines and subtle textures. It’s a great way to get an idea of what you like best and get an idea for the wealth of options.

My test print photos from Oslo.
What’s next?
I’m always learning and keen to fine tune my skills, so here are the next few things on my printing ‘to do’ list!
Send off test charts to Fotospeed/PermaJet to get customised profiles for different papers tailored to my printer. This will help me to achieve the most accurate colours from screen to print. It might also save me some ink which would be a bonus!
Try out different papers like Fotospeed’s recently released Cotton Etching 305 paper and explore more of PermaJet’s papers. I also want to branch out and try paper by the likes of Hahnemühle and Canson to expand my knowledge and possibly find some new favourite papers.
Make a photobook! I love photobooks and notice that themes, series or a collection of photos work best. I have some small series of macro photos in mind and also have fond memories and photos from holidays. My girlfriend is talented at making books, so hopefully she can teach me some skills!